Everyone knows the importance of making backups, but most people don’t do them until they lose data and wish they had done their backups sooner. I have a couple of backup solutions for creating a system image. System images are not your regular backups but are really useful to restore your entire computer easily.
What is a System Image?
Unlike conventional backups, which only backup your files and folders, a system image is a copy of everything on your hard drive. If you have a problem and need to reinstall Windows, you have to reinstall all your programs and apps and restore your data which takes a long time to get back to where you were.
Instead, you restore the system image and you have system back to close to where you were, then you restore your files to that and you are up and running in no time at all.
It is good practice to create them monthly, and you can automate this process.
File History
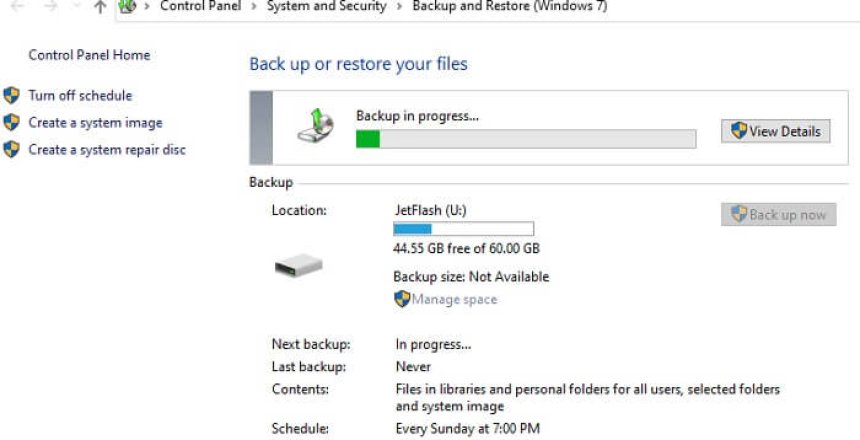
Microsoft introduced in Windows 8 a system called File History, which an incremental backup of your computer’s files to make it easier to restore a file that has been deleted or overwritten by mistake and relegated the Backup and Restore from earlier versions as Backup and Restore (Windows 7) so its harder to find. They also removed the GUI version of system image to make it harder for users to create system images in favour of File History.
System Image creation
System image creation can be done from the command line and from PowerShell using the wbadmin command. This creates virtual hard drive images of your hard drive(s) and is quite versatile.
In the latest version of Windows 11, coming out next month it will be possible to mount these virtual drives more easily.
To restore a system image, there is an option in the recovery menu, or if you have reset your PC you can run the restore command.
The command to create the system image is as follows (where E: is your external media):
wbadmin start backup -backupTarget:E: -include:C: -allCriticalIf you run this command regularly, you will have a backup file with multiple versions inside.
Restoring a system image
When restoring a system image, you can choose which version you wish to restore.
wbadmin get versions -backupTarget:E:
Now you will have a list of versions to choose from, so you can next run:
wbadmin start recovery -version: DD/MM/YYYY-HH:MM -backupTarget:E: -itemType:volume -items:C:
DISM Backup
There is a Deployment Image Servicing and Management (DISM) that can create installation media in the form of Windows Installation Media images (.WIM files) that can be used to create backup images that restore to the drive as bootable images in their own right. DISM is normally used to make installation media and for manufacturers to create custom installations for their products but you can use the same tools to create backups and restore as an installer. The DISMBackup scripts are the easiest way to do this.

