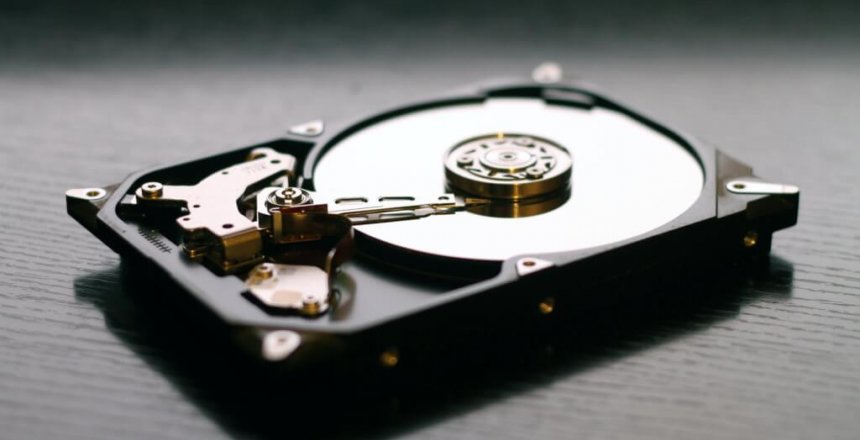
When recycling and repurposing a computer, it is always best practice to wipe all data from the drive. The best way to do this is through “security enhanced erase” which overwrites the drive using the manufacturer’s guidelines but sometimes that’s not possible, so what can we do?
The Security Enhanced Erase process
This process tells the hard drive to effectively wipe itself.
You first need to identify which drive is the one you need to wipe, as blindly guessing can corrupt the wrong drive. Additionally, the drive cannot be connected via USB to be wiped, it has to be directly connected or the process may leave the drive unreadable.
You need to use the sudo command to become the Super User to use these commands, so:
sudo -s
You will see your prompt change to a # from a $ which signifies your change to Super User.
fdisk -l
fdisk is the disk manipulator, and the -l tells it to list all found drives. You can then see which is the drive you are about to wipe. Sometimes this can be sda, sdb or sdc, we will use X for this example.
Hard drives and BIOS protection
In modern computers, there is a built in protection against running a drive wipe using the manufacturer’s guidelines.
The way to turn off the protection in Linux is to put the computer to sleep using:
echo 'mem' >/sys/power/state
This triggers a suspend to RAM, this condition unlocks the BIOS drive protection.
Once the lights start to flash, you hit the power button and hopefully, the computer comes back to the prompt so you can set the wiping password and perform a secure wipe.
hdparm
hdparm or hard drive parameters allows the user to get and set the behaviour of a hard drive.
Let’s start with the identify command to find out whether the drive supports secure wiping:
hdparm -I /dev/sdX
If we see that secure enhanced is supported, we can used the more secure manufacturer’s wiping system, and if not we can use the slightly less supported method of secure wipe (enhanced writes manufacturer specific data over the drive after the wipe process to make it even harder to recover.)
If we don’t see the drive as locked, we can proceed with the manufacturer’s wiping process:
hdparm --user-master u --security-set-pass p /dev/sdX

hdparm --user-master u --security-erase-enhanced p /dev/sdX
or, if enhanced is not available:
hdparm --user-master u --security-erase p /dev/sdX
Then you wait the prescribed time listed on the identity command you issued earlier.
If this is unavailable or fails...
Sometimes, calling:
echo 'mem' >/sys/power/state
Causes the computer to enter a state where the computer reboots when you press the power button, this is usually because the computer doesn’t support suspend to RAM.
You have to use a different method of wiping the data.
badblocks
badblocks (part of coreutils) is primarily a diagnostic tool that performs a read write test on the drive. In non-destructive mode, it will write data to areas of the drive not currently being used and then read the data back to see if there are any bad blocks on the drive. However, in destructive mode, it will overwrite all data on the drive with a series of patterns and make it near impossible to recover.
badblocks -wsv /dev/sdX
shred
shred(also part of coreutils) is a file and disk wiping tool.
By default, shred overwrites the file 3 times, but that can be configured using the -n switch.
shred -f -v -n 1 /dev/sdX
scrub
scrub is an alternative tool (you will need to install it) that performs a wipe to Department of Defence level wiping of data, amongst other patterns.
scrub -f -S -p dod /dev/sdX
dd
dd is a Unix tool that enables duplication of data, you can copy partitions and even whole drives. You can use dd to wipe a drive, but it only offers single pass.
dd if=/dev/urandom of=/dev/sdX status=progress
Or if you don’t want random data, you can use:
dd if=/dev/zero of=/dev/sdX status=progress
SSD
Solid State Drives work differently to standard magnetic drives, and they work by interpreting the commands sent to them from the computer.
hdparm --sanitize-status /dev/sdX
This will check to see if sanitize is supported on the drive, and if it is, and crypto-scramble is available, execute:
hdparm --yes-i-know-what-i-am-doing --sanitize-crypto-scramble /dev/sdX
According to Sandisk:
Secure Erase is different from Sanitize because it only deletes the mapping table but will not erase all blocks that have been written to. Sanitize will delete the mapping table and will erase all blocks that have been written to. Therefore, Secure Erase is faster to complete than Sanitize. After you erase the drive using Secure Erase or Sanitize, all user data will be permanently destroyed on the selected drive. This data cannot be recovered.
The –sanitize-crypto-scramble changes the internal encryption keys so that the data is not recoverable, wipes out the data and then performs a trim to mark the drive so that no data exists.
Conclusion
Wiping your data securely is probably overkill when it comes to your bank details or credit card information. To a government agency, such as the NHS however, which have come into contact with patient records, it is essential that the data be wiped.
Magnetic hard drives can be recovered, but the process is extremely expensive and time consuming.
If you have committed a crime and you are wiping your drives to hide evidence, the law enforcement agents will work on attempting to recover the drives and probably charge you with destruction of evidence and possibly obstruction anyway.

