
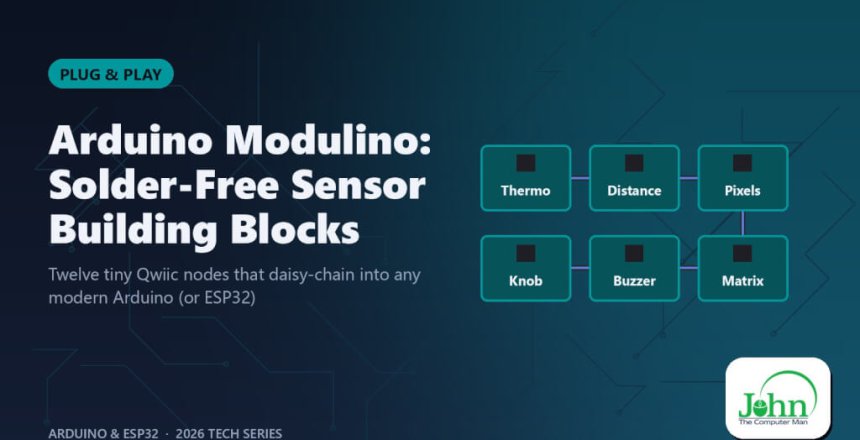
Twelve tiny Qwiic nodes that daisy-chain into any modern Arduino (or ESP32)
Breadboards are great until your project has six sensors and forty jumper wires. Arduino Modulino nodes fix that. Each one is a tiny board with a single job, connected over Qwiic (I2C) and daisy-chained with one cable per node.
What's in the family
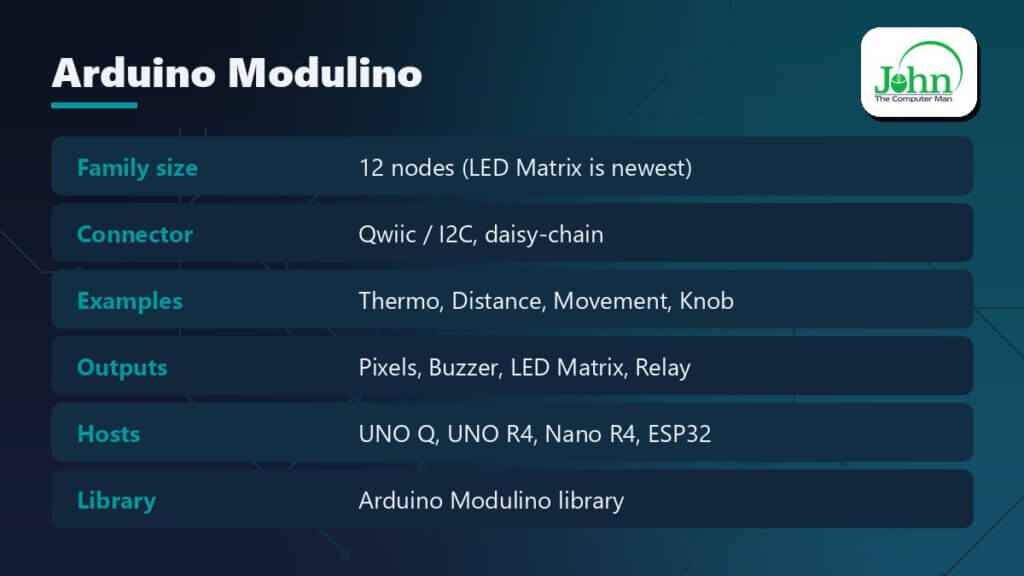
There are now 12 Modulino nodes. The newest is the Modulino LED Matrix (8×12 LEDs), announced in March 2026. The family covers:
- Sensing: Thermo (temperature/humidity), Distance (time-of-flight), Movement (6-axis IMU), and inputs like Knob and Buttons
- Output: Pixels (RGB LEDs), Buzzer, the new LED Matrix, and actuators such as a latching relay
- Interaction: knobs, buttons and a joystick for building controllers
Why it's good
- No soldering, no wiring mistakes. Qwiic connectors are keyed.
- One library. The Arduino Modulino library gives every node a simple API.
- Works beyond Arduino. Qwiic is an open standard, so the nodes plug into many ESP32 boards and Adafruit STEMMA QT boards too.
- Made for the UNO Q, Nano R4 and UNO R4. These have built-in Qwiic ports.
Getting started (UNO R4 WiFi / UNO Q)
- Install the Modulino library from the Library Manager.
- Plug a Qwiic cable from the board to your first node, then chain the rest.
- Open File → Examples → Modulino and upload.
On the UNO Q, you can read Modulino data in the sketch and send it to Python in Arduino App Lab. That lets you build a web dashboard or trigger an AI model.
Project ideas
- Desk weather station: Thermo + LED Matrix + Buttons.
- Theremin: Distance + Buzzer.
- Tilt game: Movement + Pixels.
- Timer box: Knob + LED Matrix + Buzzer.
Watch out for
- I2C address clashes if you chain two of the same node. Check the docs for changing addresses.
- Cable length. Long I2C chains can get noisy, so keep them to a desk-sized build.
Bottom line
Modulino is the fastest way to go from idea to working prototype, and it’s great for classrooms.
